
this poster was particularly brittle. we began by giving it a bath (instead of dry cleaning), then applied a lining (instead of doing countless mends on all of the holes). as you may have noticed, i spent quite a long time removing linings previously, and now i'm putting one on. the linings i removed were very dramatic and used material that could continue to degrade and hurt the poster. the lining i applied to this poster is very gentle - japanese tissue (light) and wheat starch paste (easy to remove), unlike the cotton fabric (heavy, tasty for bugs) with heat set tissue (a pain to remove).
 |
| drying between two thick pieces of felt |
 |
| bath - between 2 layers of reemay |

1) position poster on a large sheet of mylar, wet down. take care to make sure there are no wrinkles and all of the pieces line in properly, as the paper will continue to expand as it gets wet. for this poster it was a bit tricky due to the many pieces that had been torn or were completely detached..


2) position a sheet of japanese tissue (weight depends on the paper) on another oversize sheet of mylar, coat with a layer of thinned wheat starch paste (about the consistency of whipping cream) starting from the center and fanning out. make sure to get out any wrinkles or bubbles that appear


3) apply paste to the poster, again working out from the center and removing wrinkles and bubbles. a soft brush works alright for this, but a roller works particularly well to get out wrinkles

4) pick up the mylar+tissue (it helps to have another set of hands) and carefully lay it on top of the poster+mylar, making sure that the whole poster is covered by the tissue and there are no large air bubbles. work out any small air bubbles with a bone folder, although be careful near areas that are detached because they will sometimes move as paste is pushed out


5) remove the top layer of mylar, then cover the mylar+poster+tissue with reemay and blotters, put weight on top (plexi and bricks) and let it sit to dry for a little while (we waited about half an hour)
6) take off weights and blotters and replace with gortex (fabric coated with plastic that allows water vapor to pass through but not liquid water, neat stuff, fragile, expensive), let dry!
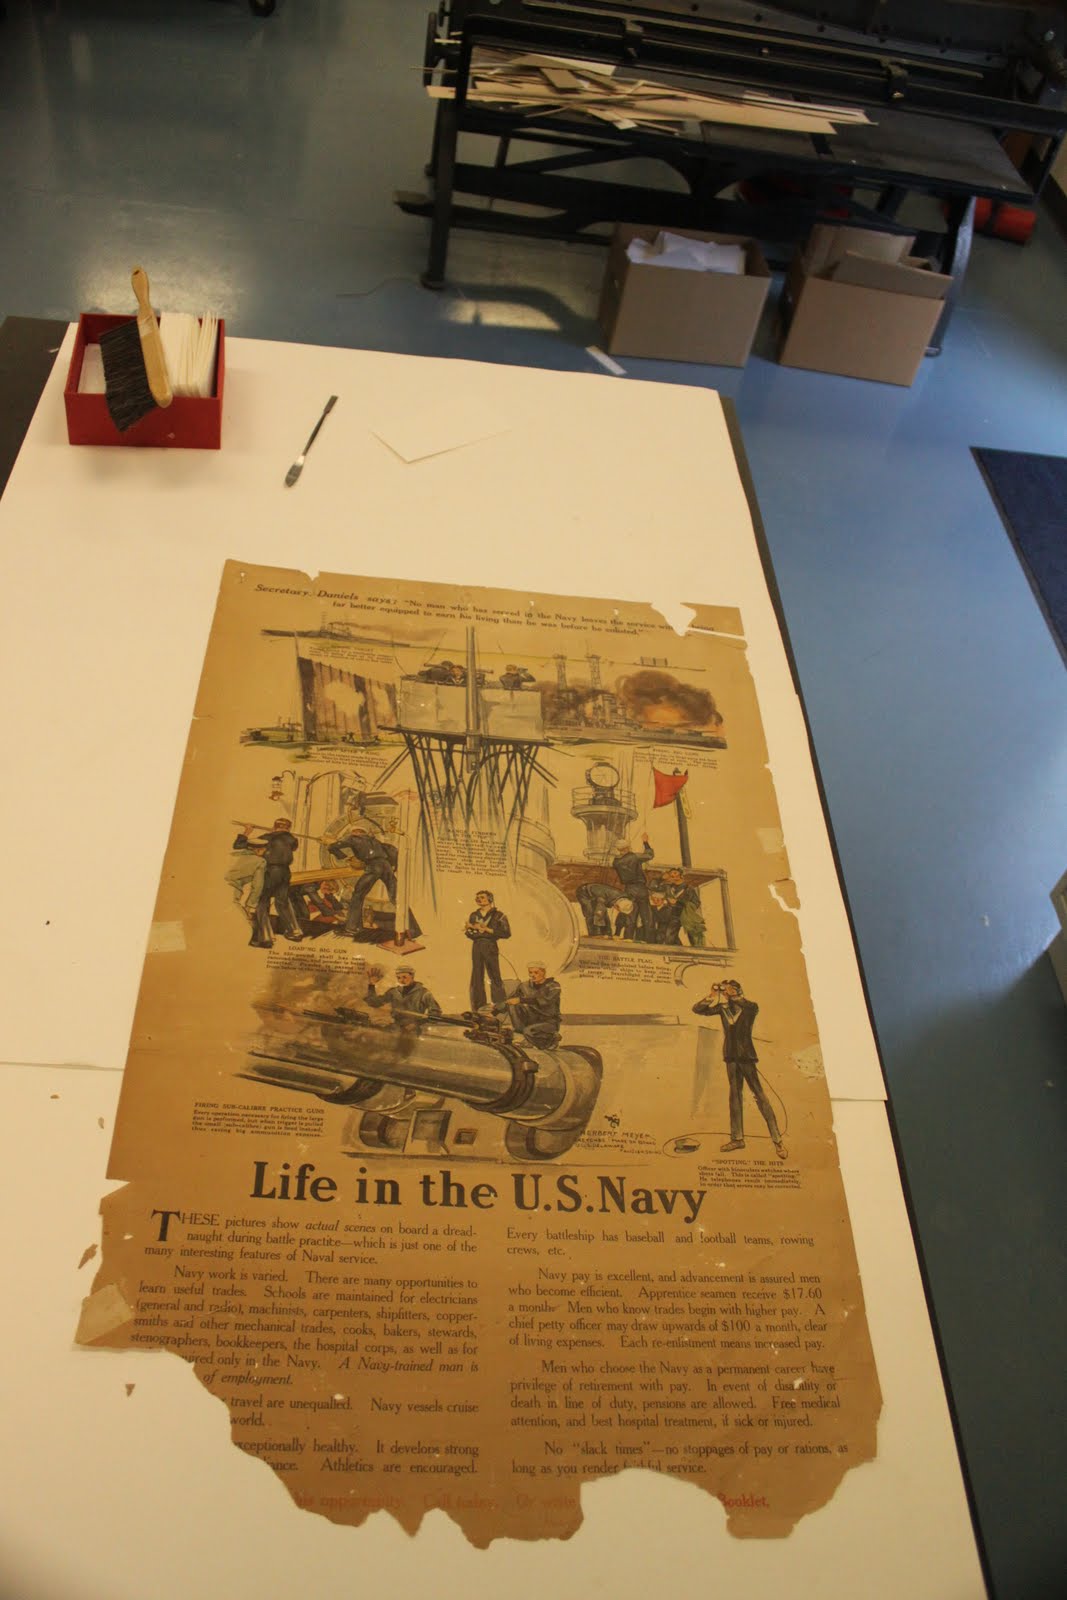 this poster was particularly brittle. we began by giving it a bath (instead of dry cleaning), then applied a lining (instead of doing countless mends on all of the holes). as you may have noticed, i spent quite a long time removing linings previously, and now i'm putting one on. the linings i removed were very dramatic and used material that could continue to degrade and hurt the poster. the lining i applied to this poster is very gentle - japanese tissue (light) and wheat starch paste (easy to remove), unlike the cotton fabric (heavy, tasty for bugs) with heat set tissue (a pain to remove).

 1) position poster on a large sheet of mylar, wet down. take care to make sure there are no wrinkles and all of the pieces line in properly, as the paper will continue to expand as it gets wet. for this poster it was a bit tricky due to the many pieces that had been torn or were completely detached..
 2) position a sheet of japanese tissue (weight depends on the paper) on another oversize sheet of mylar, coat with a layer of thinned wheat starch paste (about the consistency of whipping cream) starting from the center and fanning out. make sure to get out any wrinkles or bubbles that appear
 3) apply paste to the poster, again working out from the center and removing wrinkles and bubbles. a soft brush works alright for this, but a roller works particularly well to get out wrinkles
 4) pick up the mylar+tissue (it helps to have another set of hands) and carefully lay it on top of the poster+mylar, making sure that the whole poster is covered by the tissue and there are no large air bubbles. work out any small air bubbles with a bone folder, although be careful near areas that are detached because they will sometimes move as paste is pushed out
 5) remove the top layer of mylar, then cover the mylar+poster+tissue with reemay and blotters, put weight on top (plexi and bricks) and let it sit to dry for a little while (we waited about half an hour)


