6.29.2012

Complete: Map of Delaware 2011.56ab

before treatment
Laid paper on a cardboard backing; black printing ink; watercolor in tan/yellow, red/pink, brown/copper green.
Published in 1816, 10.875"x13.625"

Condition: Paper and backing discolored, brittle; mild surface dirt, small dent in UL corner; watercolor severely faded & copper green pigment corroded.

Treatment:
Dry cleaning
Solubility testing of pigments
Soak backing in distilled water & remove mechanically
Wash suspended in distilled water contained between polyester web
Mend tears with japanese tissue and wheat starch paste


Mother Kill?
Slaughter Creek?  Broad Kill?  Whore Kill Road?
What, exactly went on here?


Backing removal - so easy! 

polyester web pocket for washing


Bath - suspended between polyester web
dirty water


Completed: 6/29/12

6.20.2012

Odessa: 6/20


First day at Odessa Historical Foundation in Delaware.  I had a tour of the historic houses, met the director, learned about the history of the foundation itself, and met the maps I'll be working with.  Most are very brittle and discolored.  The first I'll be working on is of Delaware and Virginia made in 1795.  Today I wrote the condition report and treatment proposal, which will involve removing a cardboard backing that was added after the map was removed from binding.  The cardboard is highly acidic and has had a major role in causing discoloration in the paper.  I started today by doing color fastness testing on the watercolor and gouache (they seemed fine, though the gouache was red lead and will probably flake off if agitated), and did some light mechanical cleaning using a vinyl eraser, making sure to avoid areas of color or fine detail.
Georgian gardens


gorgeous furniture


3.27.2012

framing

the past few months i've been taking an organic chemistry lab, so i haven't been able to spend as much time in the conservation lab.  i have, however, still been working full time framing.  some of my more interesting projects have been...


fork, knife, napkin to be framed...


can you see how it's attached?
all done!

delicate beaded purse

carefully attached
(a duo)

concert souvenirs

2.17.2012

Review of the Fall

it's been a few months since i've been able to post.  since my last update, i've continued volunteering at the library preservation department in addition to work and taking a supplemental chemistry course.  one of the more interesting projects i've helped with has been the matting of vellum illuminated manuscripts.  when i first arrived at the ALF a year and a half ago, my very first job was to cut thread into 2-3 inch pieces and fray the ends.  those threads i've now used up, and made more, and used those up as well matting these manuscripts.


the threads are attached with wheat paste to the edges of the manuscripts.  the ends are frayed so the wheat paste has something more to hold on to.


the other ends of the threads were then attached to mats.  two mats were cut with openings that gave about 1 cm of allowance around the manuscript.  the threads were attached to the first mat, then the second was put on top to seal the threads in.  the mats and manuscript were then attached to a third solid mat to create a type of folder to provide protection and additional support.  
when i first began, and the reasoning behind using the thread was explained to me, i was blown away.  so simple!  so logical!  the vellum is skin, and expands in a humid environment and contracts in a dry one.  thread does the opposite - it winds tighter when humid.  in this way, the relationship between the thread and the vellum is a sort of symbiotic one.  

9.30.2011

back at the ALF

returning to bloomington i am now again at the auxiliary library facility volunteering in the preservation department with the paper conservator doug sanders.  last week he decided to demo an activity for a class he'll be guest teaching for the museum studies department, so we made some oil pastels.  it was much easier than i expected (or maybe he did all of the hard work) and they turned out quite well.
besides that, i've been working on various adhesive removal or masking tape, both with acetone on a small suction pad and using a heated metal spatula - the technique depends on the age of the masking tape.  the older masking tape (on a certificate confirming someone's graduation from an italian school) required the acetone, while the newer tape had yet to really harden so heat was enough to relax and remove it.

8.19.2011

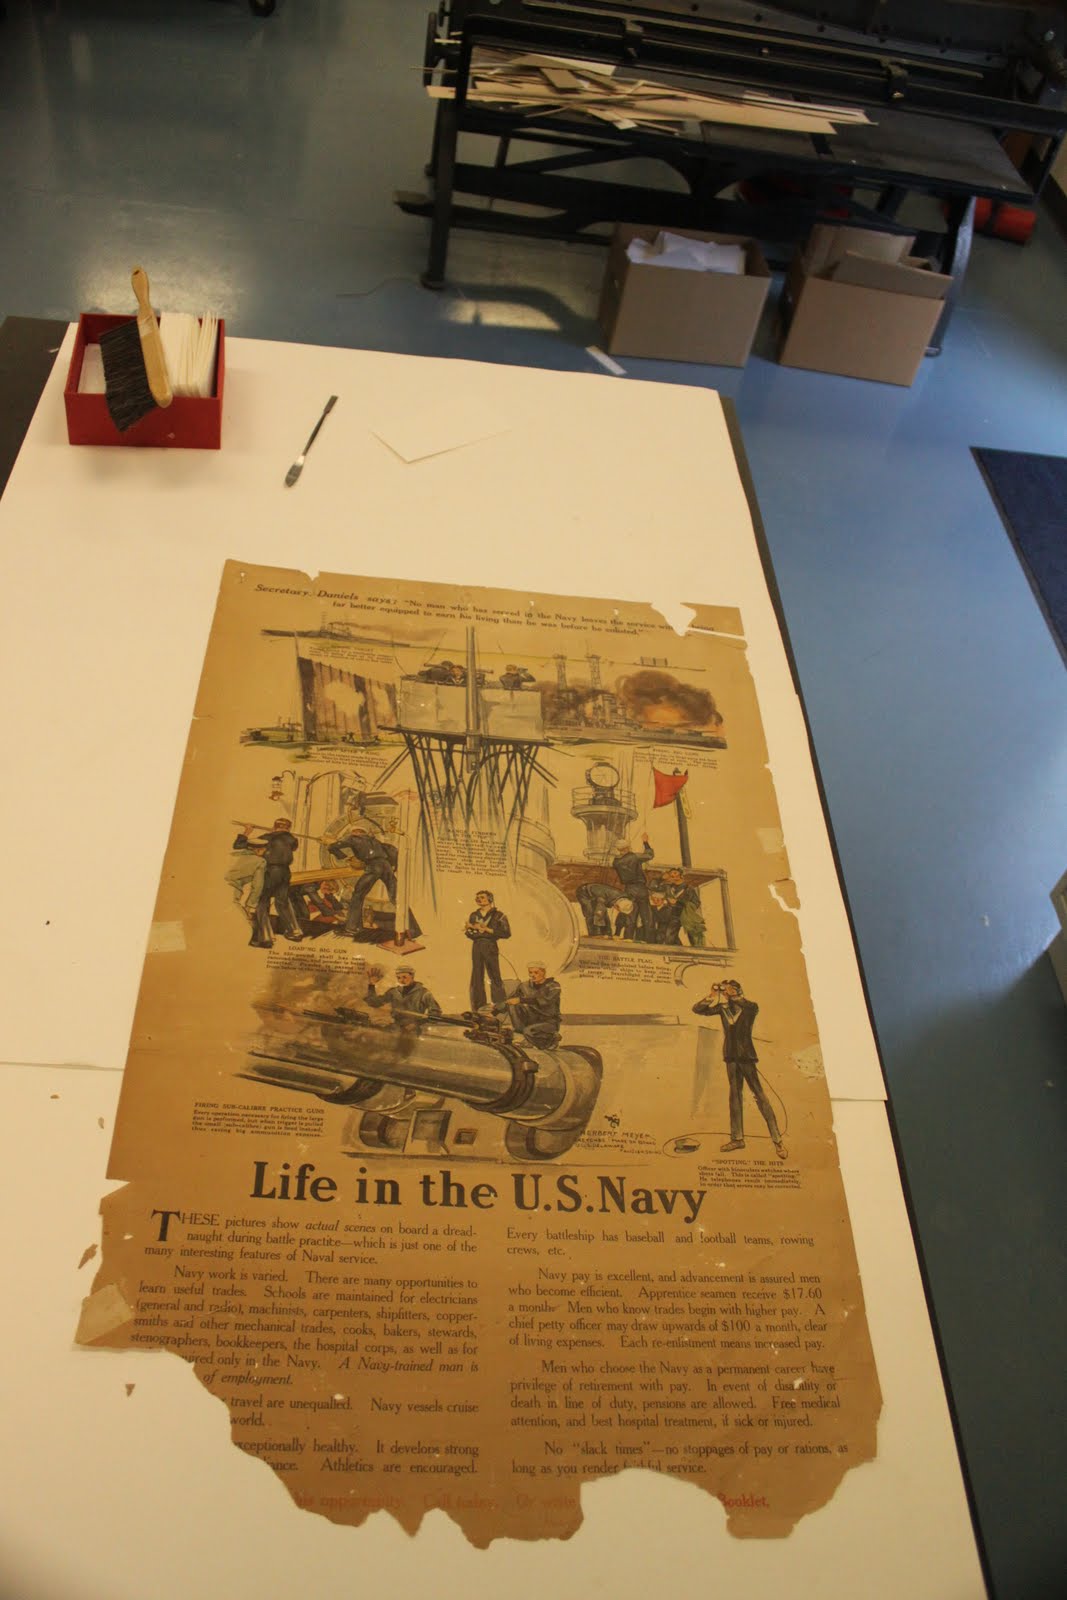
lining application (UVA WWI posters)

this poster was particularly brittle.  we began by giving it a bath (instead of dry cleaning), then applied a lining (instead of doing countless mends on all of the holes).  as you may have noticed, i spent quite a long time removing linings previously, and now i'm putting one on.  the linings i removed were very dramatic and used material that could continue to degrade and hurt the poster.  the lining i applied to this poster is very gentle - japanese tissue (light) and wheat starch paste (easy to remove), unlike the cotton fabric (heavy, tasty for bugs) with heat set tissue (a pain to remove).

drying between two thick pieces of felt
bath - between 2 layers of reemay


1) position poster on a large sheet of mylar, wet down.  take care to make sure there are no wrinkles and all of the pieces line in properly, as the paper will continue to expand as it gets wet.  for this poster it was a bit tricky due to the many pieces that had been torn or were completely detached..
2) position a sheet of japanese tissue (weight depends on the paper) on another oversize sheet of mylar, coat with a layer of thinned wheat starch paste (about the consistency of whipping cream) starting from the center and fanning out.  make sure to get out any wrinkles or bubbles that appear
3) apply paste to the poster, again working out from the center and removing wrinkles and bubbles.  a soft brush works alright for this, but a roller works particularly well to get out wrinkles
4) pick up the mylar+tissue (it helps to have another set of hands) and carefully lay it on top of the poster+mylar, making sure that the whole poster is covered by the tissue and there are no large air bubbles.  work out any small air bubbles with a bone folder, although be careful near areas that are detached because they will sometimes move as paste is pushed out


5) remove the top layer of mylar, then cover the mylar+poster+tissue with reemay and blotters, put weight on top (plexi and bricks) and let it sit to dry for a little while (we waited about half an hour)

6) take off weights and blotters and replace with gortex (fabric coated with plastic that allows water vapor to pass through but not liquid water, neat stuff, fragile, expensive), let dry!

adhesive removal: heat set tissue (UVA WWI posters)

one poster had some burned cotton that was a bit harder to remove
two of the UVA posters had linings on the back consisting of a cotton fabric attached by a heat set tissue made of adhesive and a thin paper carrier.  the fabric came off easily, but the tissue was much more difficult.  initially i tried removing it just through mechanical means (sliding a microspatula or scalpel between the tissue and the poster).  in some areas it came up easily, but others were better adhered.  for these areas i used the hot air pencil to soften the adhesive so the microspatula could slide under the tissue and raise it up to be removed.  this worked well, although not all heat set adhesives would've responded in the same way.
half of the cotton lining removed
start of tissue removal
...still working on the tissue